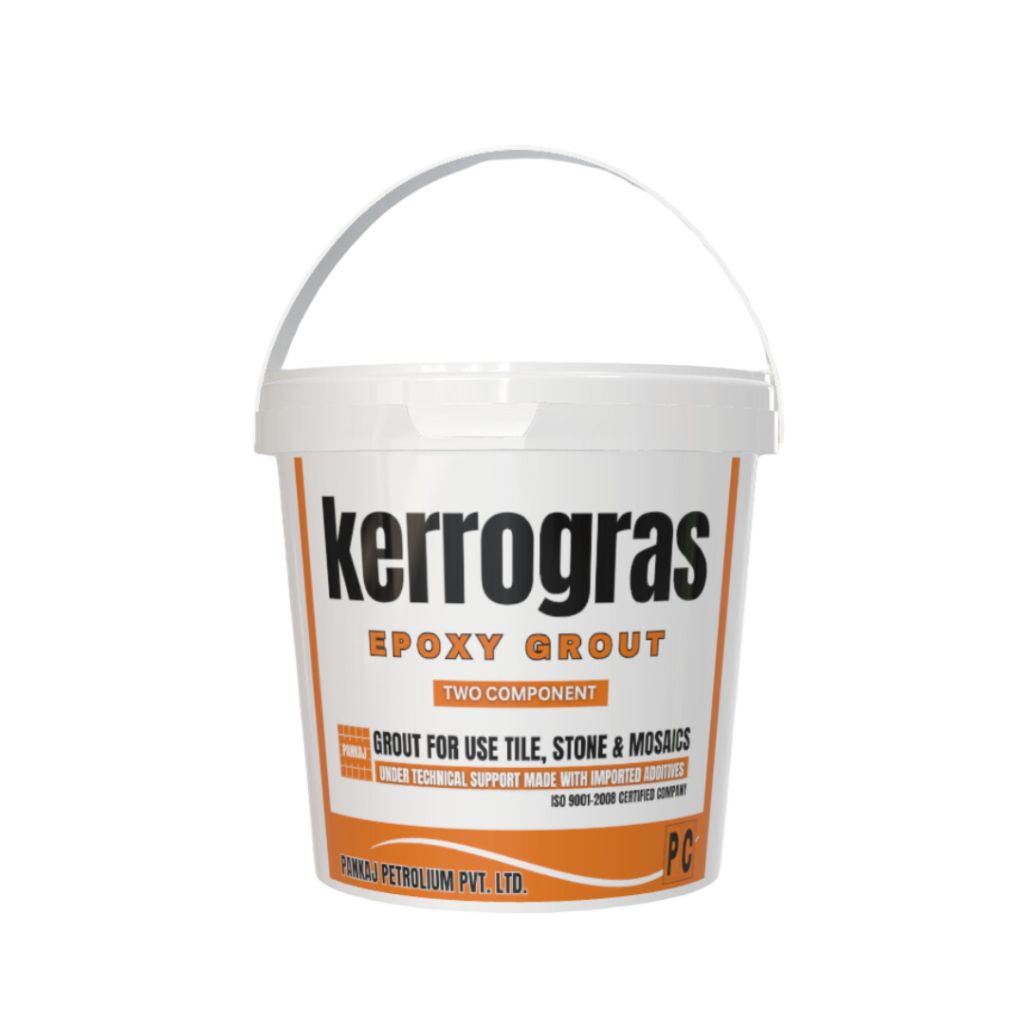
Kerrogras epoxy grout II component
Kerrogras epoxy grout II component is a premium-grade grout designed for ease of use and exceptional performance. Its simple two-component formula—resin and hardener—delivers a robust and durable grout with minimal effort. The straightforward mixing process ensures a consistent and reliable result every time.
Packaging – 1kg, 5kg, 10 kg
Colour – Available in a range of more than 20 colours.
Coverage – Varies with tile size and grout width.
Product Description
The Kerrogras Epoxy Grout II Component has two components: Part A (Resin Paste) and Part B (Hardener). Each part comes in five sets within a bucket—one set of 900 grams of resin paste and 100 grams of hardener.
Features and Benefits
- Simplified Mixing
- Faster Setup
- Superior strength and durability
- Chemical and stain-resistant
- Water-resistant
- Low maintenance
- Colour consistency
- Temperature resistant
- Versatile Application
Application
- Surface Preparation:
Clean the Tiles: Ensure that the tile joints and surrounding tiles are clean and free of any dust, dirt, or old grout.
Dry the Joints: This step is of utmost importance. The tile joints must be completely dry before applying the epoxy grout. Any moisture can hinder the grout from bonding properly and may lead to failure.
Avoid Rainy Days: Do not apply epoxy grout on rainy days or in conditions of high humidity. Excess moisture in the air can interfere with the curing process and may lead to an improper bond.
Protect Surrounding Areas: Use painter’s tape to protect areas not being grouted, as epoxy can be challenging to clean once it cures.
Mixing the grout
Combine the Resin Paste and Hardener: Pour the resin paste (Part A) into a clean bucket, followed by the hardener (Part B). Mix these two components thoroughly for 2-3 minutes using a margin trowel or a low-speed mixer until you achieve a uniform, consistent colour and texture. Ensure no unmixed material remains at the bottom or sides of the container.
Apply the Grout
Use a grout float to apply some epoxy grout onto the tile surface.
Press the grout into the joints by holding the float at a 45-degree angle and ensuring they are fully filled.
Work in small sections to prevent the grout from drying out before you can clean it.
After you’ve applied the grout, use the grout float to remove any excess grout from the tile. While holding the float at a right angle, go diagonally across the tiles.
Clean the tiles
Wait about 10-15 minutes for the grout to set slightly. The exact time may vary depending on the product and environmental conditions.
Wet a grout sponge with clean water, squeeze out most of the water, and wipe the tile surface softly to remove grout haze.
Rinse the sponge frequently and change the water as needed.
Curing
The grout usually hardens in 24 to 48 hours. Keep the area dry during this time.
Protect the grout from foot traffic or other disturbances while it cures.
